Hast wirklich alles so gemacht?
Kann ja niemand kontrollieren ...
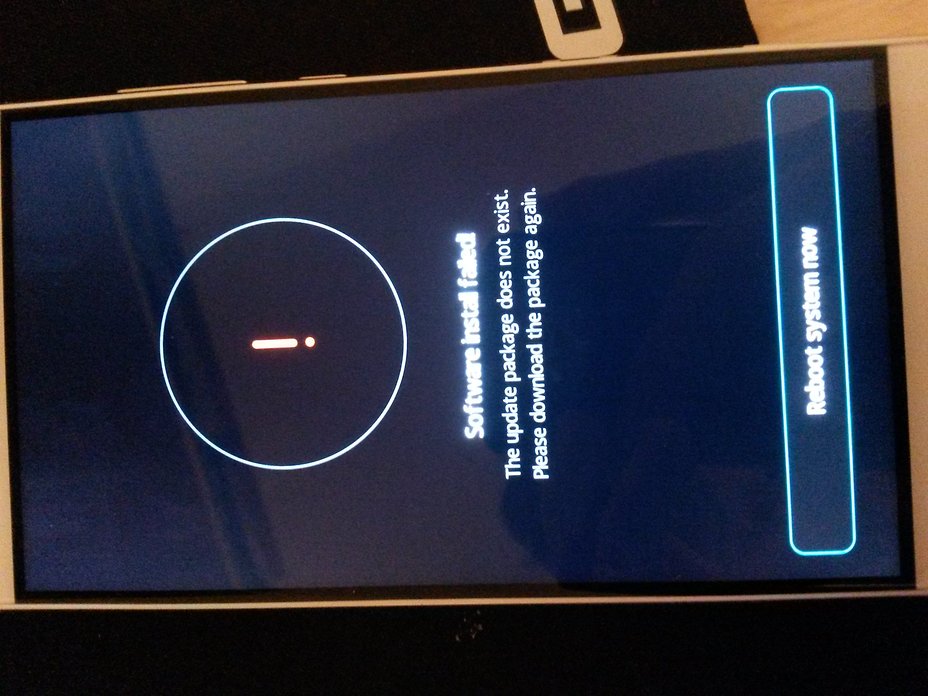
TWRP Recovery for Huawei P9 is now available. Here we discuss how to Root and Install TWRP Recovery on Huawei P9. Huawei p9 is the recently launched flagship device which comes with powerful hardware and latest software. The device is new still developers got a way to root and install custom recovery on Huawei P9. But first, you need to unlock the bootloader of Huawei P9 if you want to root Huawei P9 or to install TWRP Recovery on Huawei P9. Now you can download TWRP 3.0.0 Recovery for Huawei P9. Recently, TWRP recovery got updated with material designed to TWRP 3.0.0. That means you can install the latest TWRP 3.0.0 on Huawei P9. The new update of TWRP 3.0.0 has a whole new look, true terminal emulator, support Android 6.0 and now you can flash image files also. Follow this guide to Root and Install TWRP Recovery on Huawei P9.
Files required to Root and Install Custom Recovery on Huawei P9 –
Download ADB and fastboot driver for windows or ADB and Fastboot for Mac and install it on your PC. This will also install your device driver.
Download TWRP Tool for Huawei P9 –
Steps to Root and Install TWRP Recovery on Huawei P9 –
Install TWRP on Huawei P9 –
1) First, enable ‘USB debugging’ and OEM Unlock (If you see one) option from setting>developer option>. To enable Developer Options, go to About phone and tap the Build Number 7 times.
2) Download the TWRP and Root Tool for Huawei P9 from above and extract it.
3) Now boot the device into the fastboot mode.
4) To enter in fastboot mode first, turn off your device.
5) Now press the volume down button and connect the device to PC via USB cable.
6) Keep pressing Volume Down button until you see the fastboot screen.
6) Now Open the TWRP folder and double click on “INSTALER-TWRP-HUAWEIP9.Bat” to run.
7) A command prompt window will open, press Enter twice to start the process.
8) The above step will install TWRP on Huawei P9.
Root Huawei P9 –
1) To Root Huawei P9 first, Open the TWRP and Root Tool folder.
2) Now save the SuperSu zip file to Micro SD or USB OTG (Note:- Internal memory in TWRP not mounted)
3) Boot your device into Recovery mode (TWRP) by pressing ‘Volume Up + Power‘ button.
4) In TWRP recovery navigate to Install Zip and select ‘SuperSu.zip’ to root Huawei P9.
5) Swipe to install SuperSu and reboot your device. That’s it, you root Huawei P9 and install custom recovery on Huawei P9 successfully.
TECHNIK ist, wenn alles FUNKTIONIERT und keiner weiß warum!
S4 mit: Lineage-OS 14.1 funzt hier in Marokko besser wie RR-ROM! Verbraucht weniger Batterie!!!


 TWRP-Version Dein Glück versuchen. Mußt sie aber mit MTK flashen.